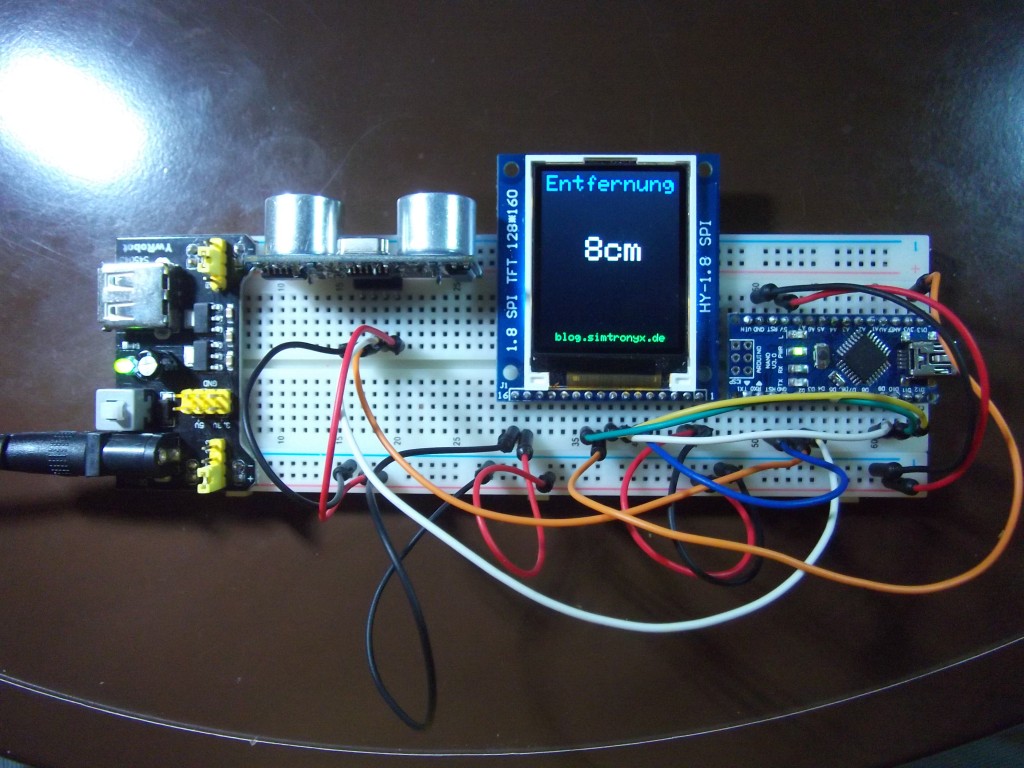
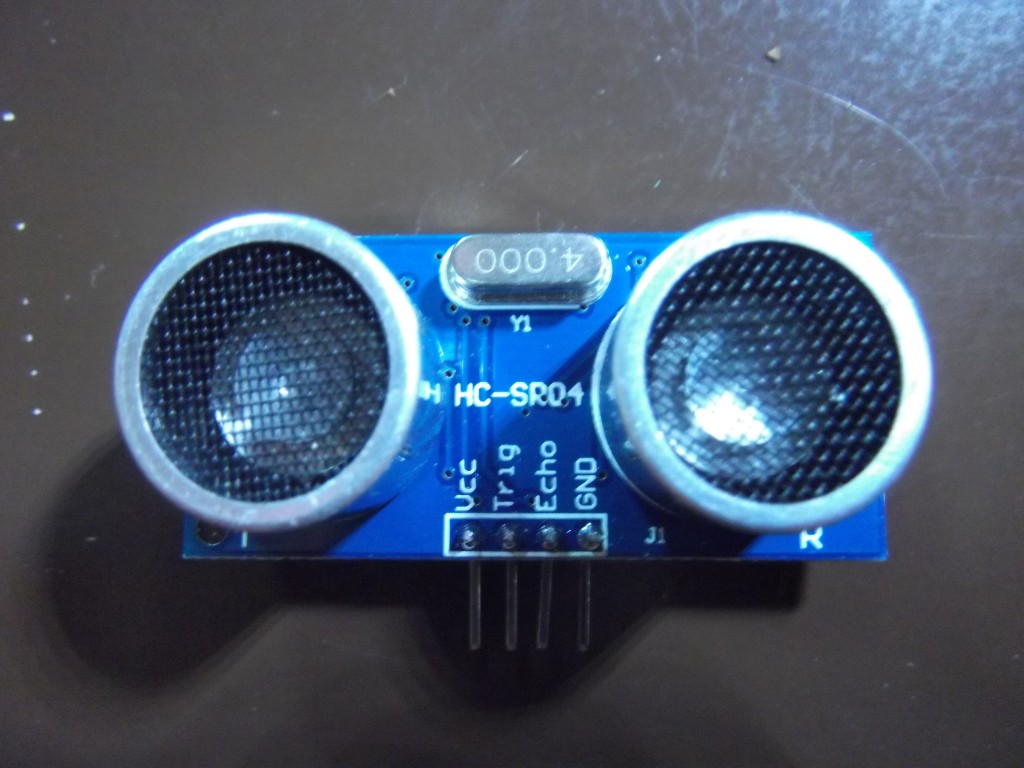
Learning from nature can also be used in electronics. Today we use the capabilities of the bat around with the HC-SR04 distance sensor to detect obstacles or measure the distance of an object using ultrasonic waves.
We connect the HC-SR04 with the Arduino as follows:
Schematic (Wiring of the HC-SR04 ultrasonic range sensor and an Arduino):
Zoom level:
Move over elements (parts, jumper cable etc.) for more information (or tap in touch mode)...
| Arduino | HC-SR04 |
| D2 | Pin Echo |
| D3 | Pin Trig |
| 5V (VCC) | Pin VCC |
| GND | Pin GND |
… and after that we connect the display. For the wiring of the display please click this link here, there is also more information on the display and the required libraries.
Then we upload the following program on the Arduino …
Source code (sketch):
// HC-SR04 und 1.8 Zoll TFT-Farb-Display (HY-1.8 SPI)

#define cs   10 // Arduino-Pin an Display CS
#define dc   9  // Arduino-Pin an Display A0
#define rst  8  // Arduino Reset-Pin

#define trigger 3  // Arduino Pin an HC-SR04 Trig
#define echo 2     // Arduino Pin an HC-SR04 Echo

#include <Adafruit_GFX.h>    // Adafruit Grafik-Bibliothek
#include <Adafruit_ST7735.h> // Adafruit ST7735-Bibliothek
#include <SPI.h>

Adafruit_ST7735 tft = Adafruit_ST7735(cs, dc, rst);  // Display-Bibliothek Setup

void setup(void) {

  pinMode(trigger, OUTPUT);
  pinMode(echo, INPUT);

  tft.initR(INITR_BLACKTAB);     // ST7735-Chip initialisieren
  tft.fillScreen(ST7735_BLACK);  // Display schwarz
  tft.setTextWrap(true);


  tft.setTextSize(2);
  tft.setTextColor(ST7735_BLUE);
  tft.setCursor(5,4);
  tft.print("Entfernung");

  tft.setTextSize(1);
  tft.setTextColor(ST7735_GREEN);
  tft.setCursor(14,147);
  tft.print("blog.simtronyx.de");

  tft.setTextSize(3);

}

long duration=0;
long distance=0;
long distance_old=0;

void loop() {

  digitalWrite(trigger, LOW);
  delayMicroseconds(2);

  digitalWrite(trigger, HIGH);
  delayMicroseconds(10);

  digitalWrite(trigger, LOW);
  duration = pulseIn(echo, HIGH); // Echo-Zeit messen

  // Echo-Zeit halbieren (weil hin und zurück, der doppelte Weg ist)
  duration = (duration/2);
  // Zeit des Schalls durch Luft in Zentimeter umrechnen
  distance = duration / 29.1;


  // Anzeige nur ändern wenn neue Entfernung
  if(distance!=distance_old){

    // Alten Werten mit schwarz überschreiben, also vom Display löschen
    show_distance(distance_old,ST7735_BLACK);
    // Neuen Wert anzeigen
    show_distance(distance,ST7735_WHITE);
  }

  distance_old=distance; // letze Entfernung speichern (Displayausgabe)

  delay(1000);

}

void show_distance(long distance,int color){

  int x;
  if(distance<10)x=41;
  else if((distance<100)||(distance>=1000))x=28;
  else x=19;
  tft.setCursor(x,60);
  tft.setTextColor(color);
  if(distance<1000){
    tft.print(distance);
    tft.print("cm");
  }
  else tft.print("----");
}
… and already we can see obstacles in the night with our Arduino.
Components:
Good?


 Deutsch
 English